Raised garden beds are one of the smartest investments a home gardener can make. They improve drainage, warm up faster in spring, reduce back strain, and dramatically cut down on weeds.
Why Raised Beds Work So Well
In a raised bed, you control the soil. Instead of fighting clay or rocky ground, you fill your bed with a custom mix that drains well, retains moisture, and feeds your plants. The result is noticeably better yields — often 2 to 4 times more produce per square foot compared to in-ground gardening.
What You'll Need (Under $50)
- Four 8-foot cedar or pine boards (1×8 or 2×6)
- Eight 2.5-inch deck screws
- Four corner brackets (optional but helpful)
- Landscape fabric or cardboard for the base
- A drill and basic hand tools
Step-by-Step Build
Step 1 — Cut your boards. For a standard 4×8 ft bed, cut two boards to 4 feet and leave two at 8 feet. Cedar is the best choice as it's naturally rot-resistant.
Step 2 — Assemble the frame. Stand the longer boards on edge and attach the shorter end pieces using your screws. Pre-drill to avoid splitting.
Step 3 — Choose your location. Most vegetables need 6–8 hours of direct sun. Avoid spots directly under trees where roots will compete.
Step 4 — Prepare the base. Lay cardboard or landscape fabric over the grass below. This suppresses weeds while still allowing drainage.
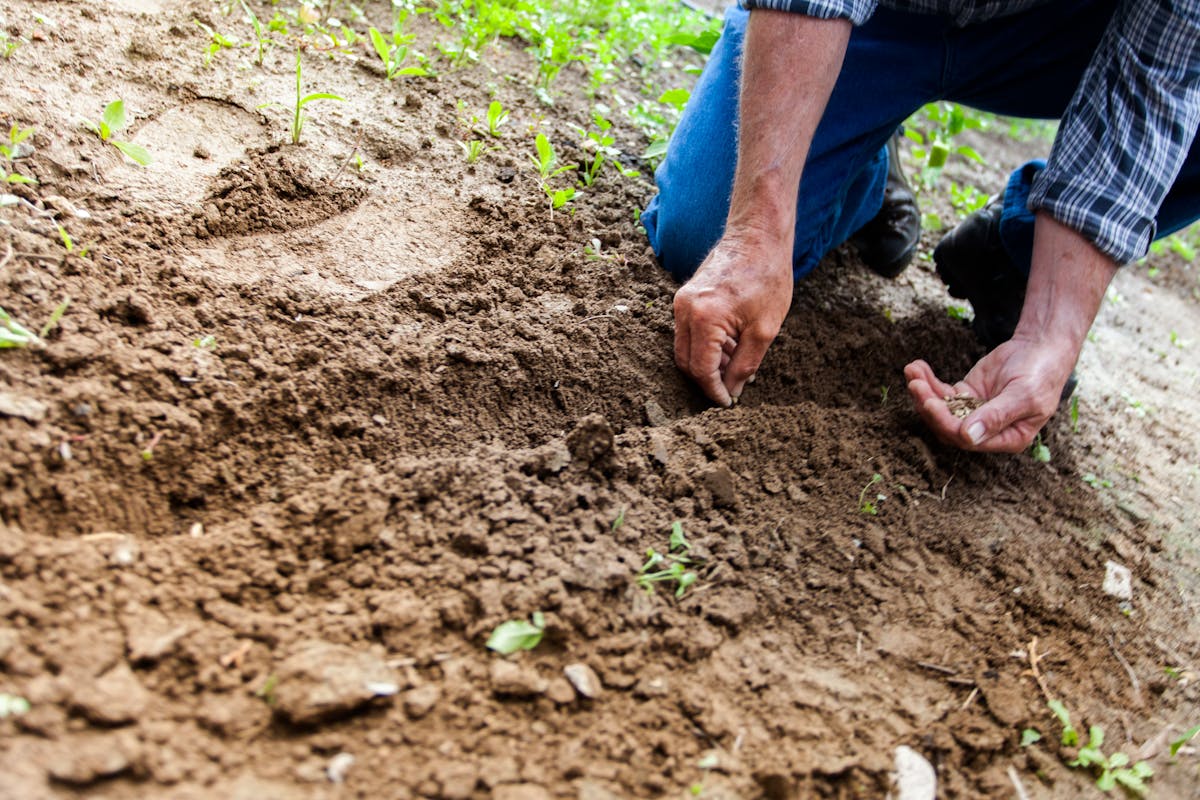
Step 5 — Fill with your growing mix. A classic mix is one-third compost, one-third peat moss, and one-third coarse vermiculite. This produces excellent results and holds moisture well.
Tips for First-Time Builders
- Keep beds no wider than 4 feet so you can reach the center without stepping inside
- Avoid pressure-treated lumber — the chemicals can leach into food crops
- Add a chicken wire bottom if gophers or moles are a problem in your yard